Women love to wear makeup but it’s a difficult task how to apply the perfect makeup like an artist. Applying makeup tips for beginners that guide how to apply makeup step by step according to the makeup artist. Before applying makeup, it’s important that clean your skin first.
Step 1: Moisturizer
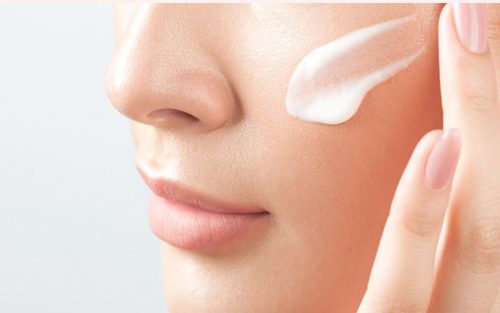
Prepare your skin with a high-quality moisturizer before applying your makeup. A variety of moisturizers are available, such as serums, face mists, Lotions, Creams, and moisturizing oils. Choose the right kind of moisturizer that’s suitable for your skin type. After applying moisturizer, gently rub on your skin and give few minutes to dry.
Step 2: Primer
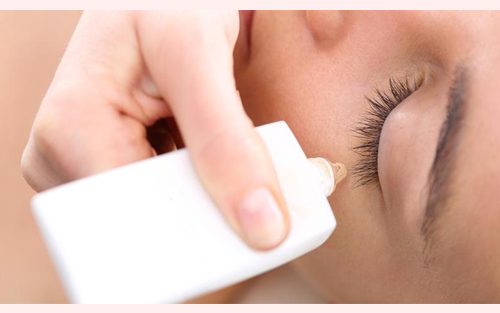
After moisturizing your skin, prepare your face with primer. Apply a small amount of primer on your face and slowly work towards your cheeks, forehead, and chin. Primers are silky smooth gels and creams that help to fill the pores on your face and help keep your makeup last longer.
Step 3: Foundation
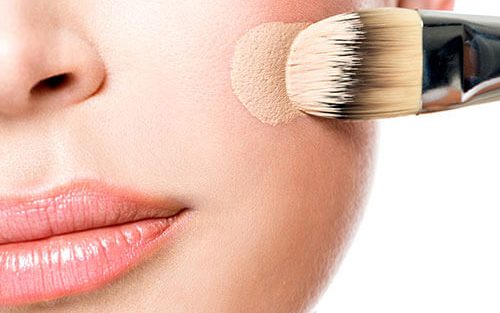
First, find the perfect foundation shade which perfectly matches the color of your skin. Then apply the foundation all over the skin with your fingers or brushes and sponges and blend it down onto the neck.
Step 4: Concealer
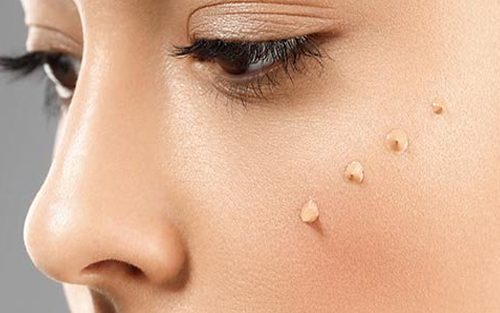
There are two types of concealer: liquid and stick/compact. it’s your choice who you prefer. Liquid concealer is good for those who want to create a light finish look to wrinkle areas like the eyes and mouth. Stick and compact concealers are good for heavier coverage.
It’s a good idea to mix two shades of concealer. One should be very similar to your skin tone that can help to cover the dark spots and pimples. The other should be lighter than your skin tone that used to highlight areas of the face.
Where to apply the concealer?
Apply the light amount of concealer beneath the eyes in the shape of a triangle. This technique gives you natural-looking. Then apply concealer over the center of your forehead, Down the center of your nose, and under your bottom lip and gently blend it.
Step 5: Foundation Powder
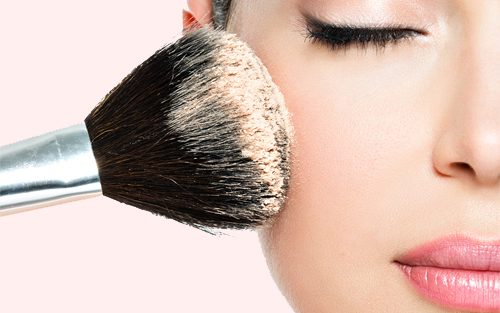
Using foundation powder can be a difficult process. How you use the powder foundation depends on how much light you want or how heavy you want to go.
If you want a touch-up based on light coverage, just kind of using a lightweight brush. If you want full coverage use a heavier powder brush. For heavy full coverage using the sponge that it comes with. You dab it wet, wet sponge dab into the foundation powder in a circular motion, then apply it with the wet foundation sponge it comes on a lot heavier and applies it with full coverage.
Step 6: Bronzer
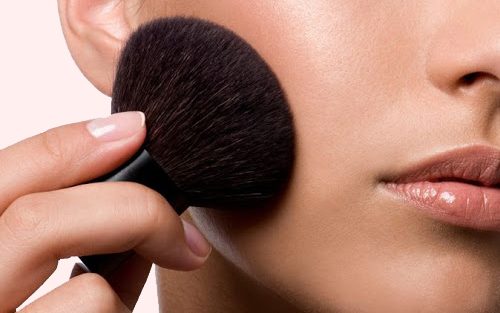
Bronzers aren’t always the best color choices for us the right texture so you really want to assess your skin first and figure out what type of bronzer is best for you. There are matte, shimmer, and cream bronzers.
Start with a bronzer 2 shades darker than your skin. Then apply under cheekbones. Apply bronzer in the shape of the number 3 and blend it. Bronzer applies to the highest points of the face: cheeks, temples, and jaw bone, and don’t forget to apply to your neck.
Step 7: Blush
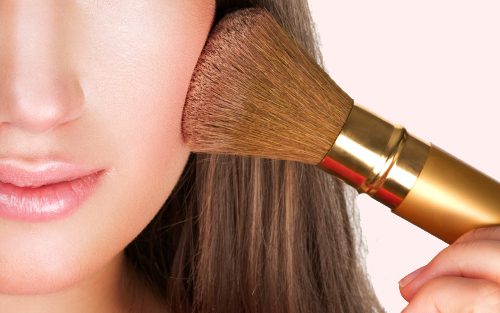
Pick the right shade of blush to have a good look at your lips. The pink or purple color that is found in your lips will usually compliment your cheeks for those suffering from rosacea, try a peach or light pink or purple blush instead. To find the blush line place your finger onto your cheek and then your thumb or right on top of your ear, this is your blush line. Use a small detailed brush and sweet over and back across this area.
Step 8: Highlighter
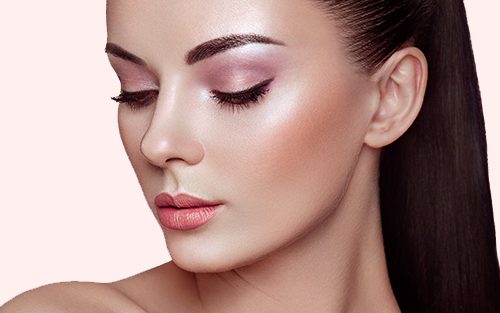
Apply a highlighter in the following areas: the bridge of your nose, top of your cheekbones, the center of the chin, on the cupid’s bow, the center of your forehead, on your brow bone, and inner corners of your eyelids. The highlighter doesn’t have to have shimmer in it. It can also just be a light powder. To create the illusion of a thin face or just to complement the shape of your face, sweep this around the eye area.
Step 9: Eyeshadow
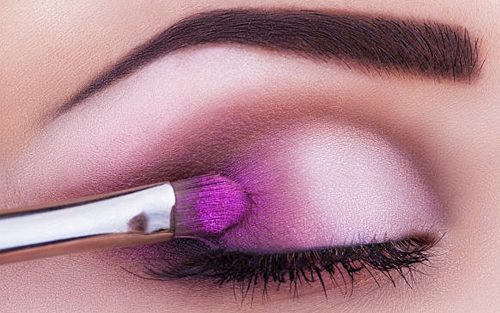
Use a fluffy blending brush to apply eyeshadow. Apply any eye shadow of your choice. If you want to apply more colors to the eyeshadow application, remember that apply the darkest color on the outside corner of the eye, and apply the lightest color on the inside corner. And if you want verticle placement, then apply the lightest color on the top and apply the darkest color close to your lash line.
Step 10: Eyeliner
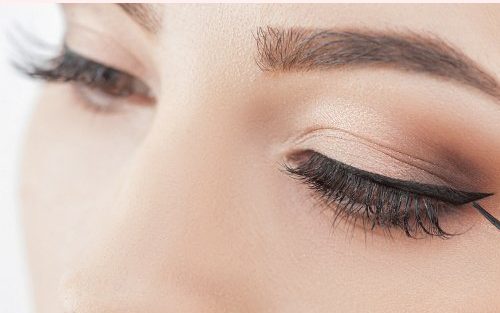
Eyeliner can be difficult to apply. With the help of a pointed tip, you get a thin and precise line. The midpoint and the inner corner are both popular options. keep the tip of the liner as close to your lash line as possible. Applying slightly more pressure will create a thicker line. Press the liner to fill in any blanks. Your line should start thin at the inner corner and get thicker toward the outer corners.
Step 11: Mascara
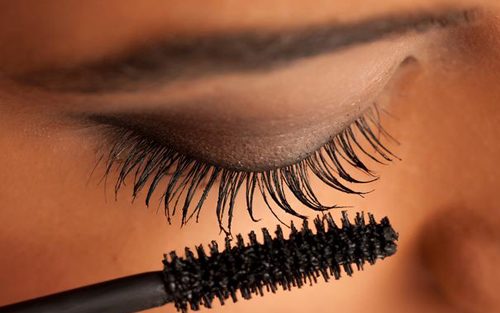
Mascara comes in a variety of colors, but black and brown colors are the most popular. Before applying your mascara, make sure you are using a product that is able to work.
When you use a wand that is not loaded with a ton of product, you’ll be able to coat every single last separately without adding all that excess product, which causes your lashes to stick together and look clumpy. Brush your lashes first and separate them before applying mascara.
How to make your eyelashes longer with mascara?
Apply the first layer of your mascara then apply the second layer as soon as possible. Do not apply the second layer when the first layer is already dry. You will be able to build up your lashes and make them look longer.
Note: Do not Wriggle the lashes with a wand because that will cause them to stick together.
Step 12: Lipstick
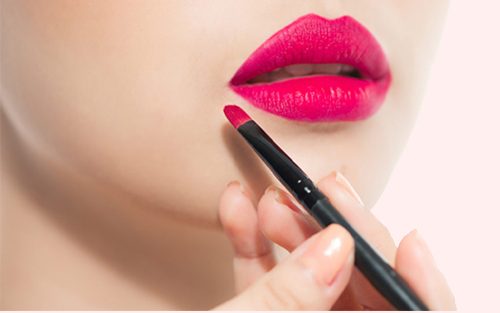
Prepare your lips first before applying any lipstick. If your lips are chapped and cracked, use a lip scrub to remove dead skin. Then apply lip balm to soften your lips. Use a lip primer because it gives you some moisture and makes your lipstick last longer.
If you really want to define the shape of your lip, then Lining your lips with colored liner and fill your lips all the way in with the colored lip pencil. It’s giving you a waxy base and makes your lipstick last longer. In the last apply your favorite lipstick color.

Leave a Comment